
 You’ve picked the sleekest LED Aluminum Alloy Baseboard on the market. It’s modern, it’s durable, and it promises that perfect strip of light along your floor. But here’s the hard truth: even the best profile turns into a disaster if the installation is sloppy. Crooked lines, uneven light diffusion, or gaps that collect dust—these aren’t design flaws. They’re installation failures. So let’s cut the fluff and talk about how to lock in that flawless finish without the headache.
First, forget the “eyeball it” approach. Precision starts with measurement, but not just any measurement. You need to account for the thermal expansion of aluminum. Yes, aluminum moves. If you cut your profile to the exact millimeter of the wall length, you’re asking for buckling when the lights heat up. Leave a 2-millimeter gap at each end. That tiny buffer is what separates a professional job from a weekend hack.
Next, the cutting method. A miter saw with a fine-tooth blade is non-negotiable. Standard saws chew up the edges, leaving burrs that ruin the light seal. After the cut, deburr immediately. A quick pass with a file or sanding block ensures the LED strip sits flush inside the channel. If the strip puckers or lifts, you’ll see it in the final glow—uneven brightness that screams “DIY.”
Now, the adhesive debate. Most people slap on double-sided tape and hope for the best. Hope is not a strategy. For aluminum baseboards, use a high-bond construction adhesive specifically rated for metal and drywall. Apply it in a zigzag pattern along the back of the profile, not just a straight line. This prevents air pockets and gives you a few seconds of adjustability before the grab sets. Press firmly, then use painter’s tape to hold it in place for 24 hours. Yes, 24 hours. Patience here pays off in zero gaps.
The LED strip itself? Don’t just peel and stick. Clean the inside of the aluminum channel with isopropyl alcohol first. Oils from your fingers or dust from the cut will weaken the adhesive backing. And if you’re using a diffuser cover, snap it on before mounting the profile. Trying to snap it on afterward risks bending the aluminum or scratching the finish.
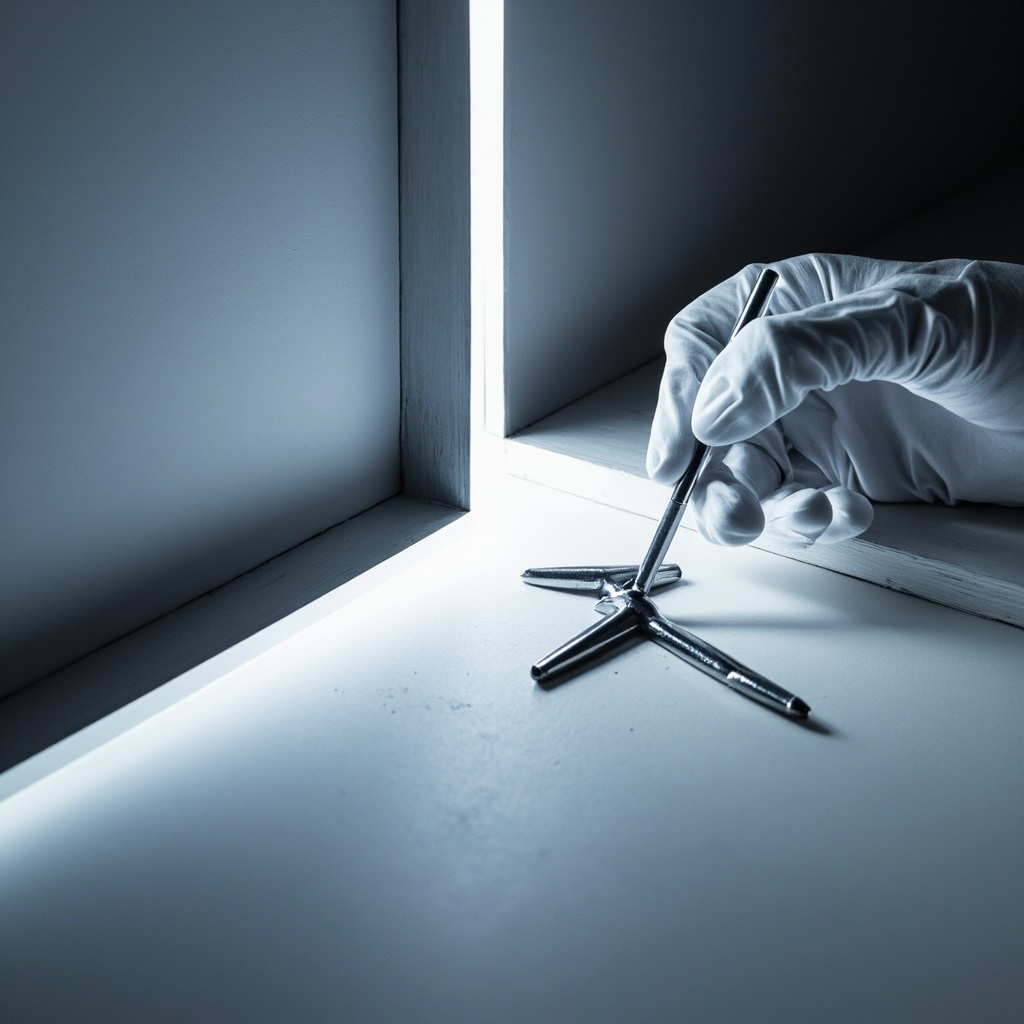
Corner joints are where most installations fall apart. Don’t rely on standard 45-degree cuts unless your walls are perfectly square. They never are. Use an adjustable angle finder to measure the actual corner angle, then cut your profile to match. For external corners, consider using pre-made corner connectors. They cost a little more, but they eliminate the guesswork and deliver a seamless light path.
Finally, the wiring. Hide it. Run the wires through a small notch cut into the back of the profile, or use a low-profile wire channel that sits flush against the baseboard. Visible wires ruin the entire minimalist aesthetic you’re chasing.
Here’s the bottom line: precise installation isn’t about being obsessive. It’s about respecting the material. Aluminum baseboards are a premium product. Treat them like one. Measure twice, cut with care, bond with patience, and you won’t just install a baseboard—you’ll install a statement.